When building a network lab in EVE-NG, adding a Cisco ASAv (Adaptive Security Virtual Appliance) is a common task. However, a frequent issue many users encounter is the ASAv node failing to boot successfully. You hit "Start," but your terminal emulator (like SecureCRT or PuTTY) remains completely blank, showing no boot messages or console output. This silent failure can be frustrating and halt your lab progress.
This guide provides a clear, step-by-step solution to resolve the EVE-NG ASAv boot issue and restore normal console access.
Symptoms of the Problem
-
You start the ASAv node in EVE-NG.
-
Your Telnet/SSH client (e.g., SecureCRT) connects but shows a black screen or no text output.
-
The node appears to be running, but you cannot interact with it via the default console.
Solution: Changing the Console Type to VNC
The root cause of this problem often lies with the default Telnet console. The solution is to temporarily switch to a VNC console to complete the initial configuration. Follow these steps carefully.
Step-by-Step Troubleshooting Guide
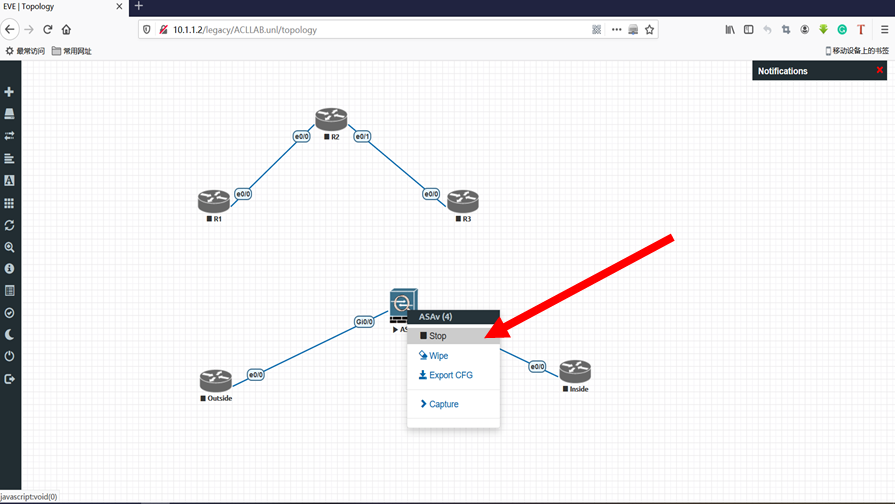
Step 1: Power Down the ASAv Node
-
Right-click the malfunctioning ASAv node in your EVE-NG topology.
-
Select
Stopto ensure it is completely powered off.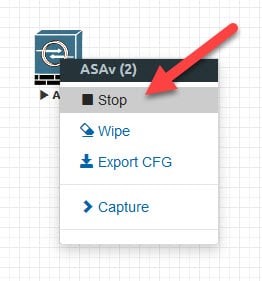
Step 2: Edit the Node Settings
-
Right-click the same ASAv node again.
-
This time, select
Editto open its configuration window.
Step 3: Change the Console Type to VNC
-
In the configuration window, find the "Console" dropdown menu.
-
Change it from the default
telnettovnc. -
Click
Saveto apply the change.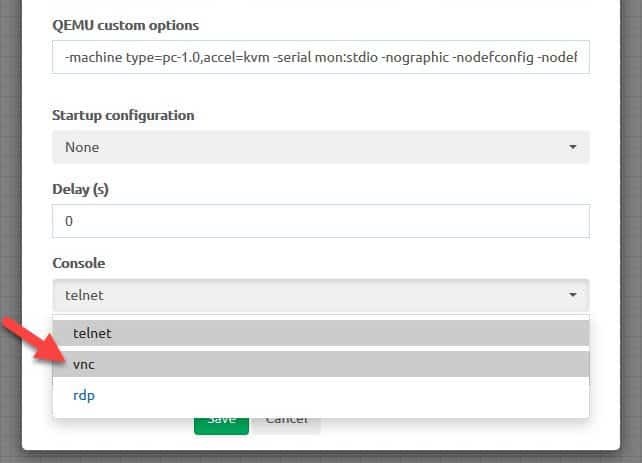
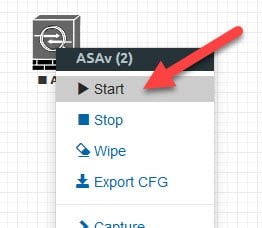
Step 4: Start the Node with VNC Console
-
Back in the topology, right-click the ASAv node and select
Start. -
The node will now boot using the VNC console.
Step 5: Apply the Fix via VNC
-
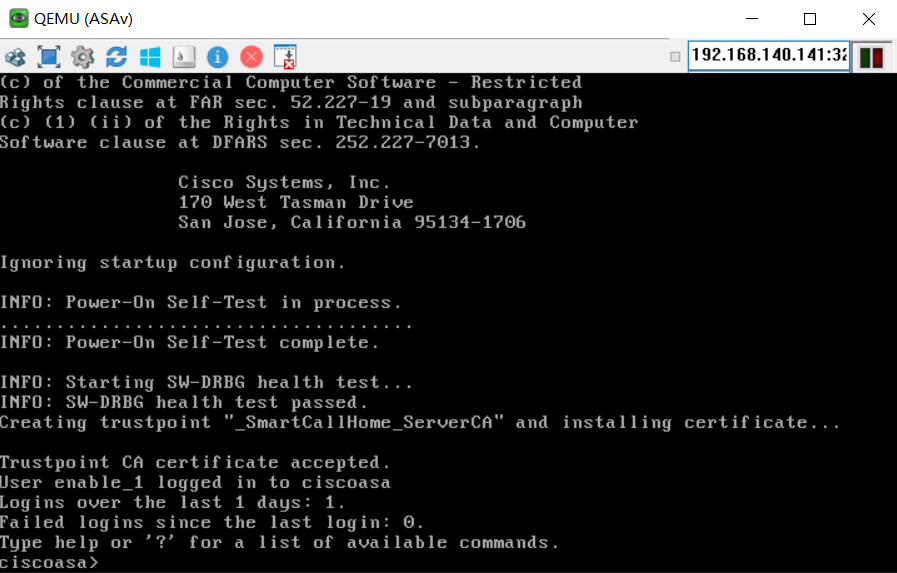
Wait for the node to boot completely and open the VNC console from EVE-NG.
-
Once the ASAv is ready, enter the configuration mode and run the following critical command:
copy disk0:/.scsi0/qemu/pmon_script.sh running-config
-
(This command copies the necessary boot script into the active configuration.)
Step 6: Power Down the Node Again
-
After the command executes, right-click the ASAv node and select
Stopto power it down. There is no need to save the configuration on the ASA.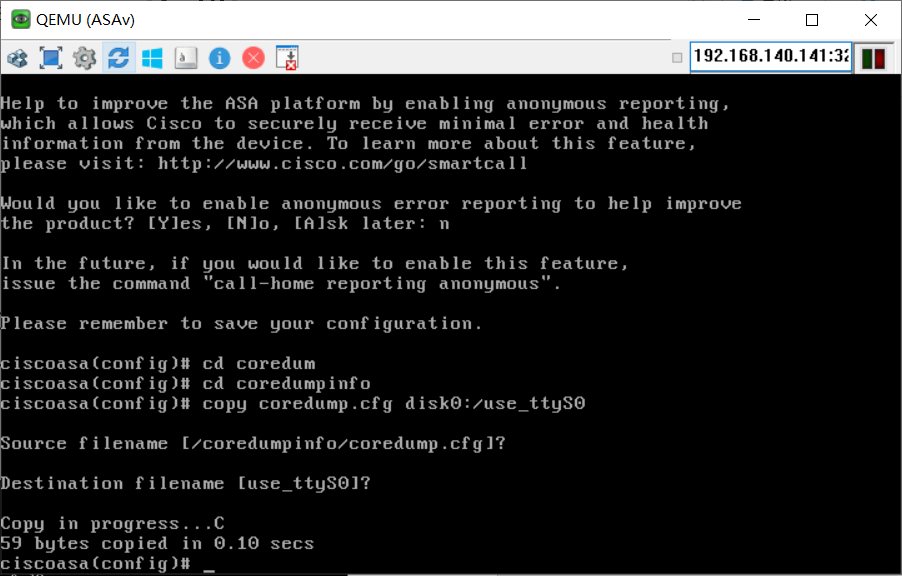
Step 7: Revert the Console to Telnet
-
Right-click the node, select
Edit, and navigate back to the "Console" setting. -
Change it from
vncback totelnet. -
Save your changes.
Step 8: Final Boot and Verification
-
Finally, right-click the node and select
Start.
Comments
Leave a Comment
No comments yet. Be the first to comment!